Access control
CI Sense enables you to collaborate with others through organizations and projects. An organization can be a company, team, or any other group of people that are working on the same set of projects. Each project belongs to an organization.
Organization roles
Organizations have two roles: administrators and members.
- Administrators have complete administrative access to the organization.
- Members are the default for everybody else. The project role that members gain in a project within an organization is configurable by the administrator. Members can view all other members within their organization.
Capabilities of each organization role:
| Organization action | Member | Administrator |
|---|---|---|
| List org members | X | X |
| View all org projects | X | X |
| Add project to org | X* | X |
| Add member to org | X | |
| Remove member from org | X | |
| Delete Org | X | |
| Manage member permissions | X | |
| View member permissions | X |
* organization members can only perform the Add project to org action if
the default project role is Developer or Administrator.
Create an organization
To create an organization:
- Login to CI Sense
- On the left sidebar select Organizations. This opens a new pane listing all the current organizations you belong to.
- On the new pane in the top right click NEW ORGANIZATION.
- Select the Add manually option by clicking + ADD.
- Enter your desired organization name and click + ADD.
Manage your organizations
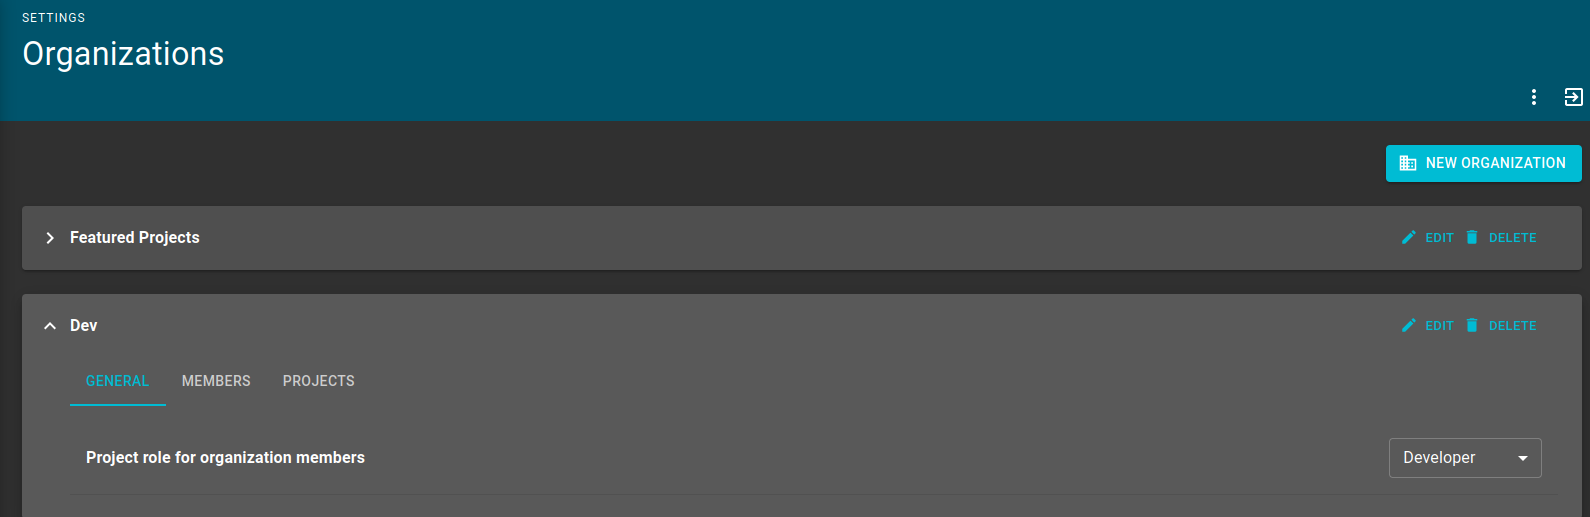
Organization management features are accessible by selecting Organizations from the left sidebar and then selecting the appropriate organization. The creator of an organization is an organization administrator and can manage members of the organization.
For a given organization, an organization administrator can set the default role for project members. You find this option under the GENERAL tab in the organization pane.
All members of an organization get assigned this role across all projects.
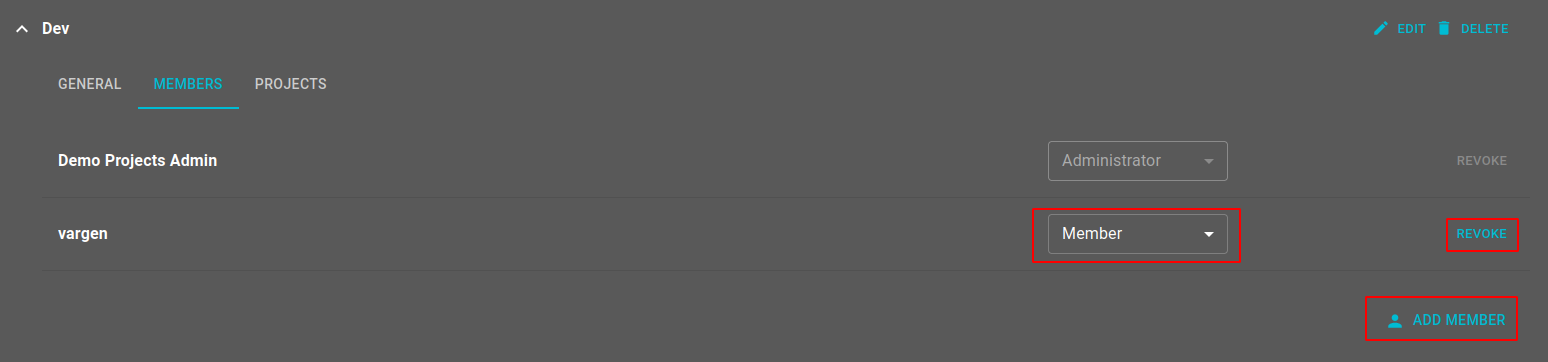
Under the MEMBERS tab in the organization pane, organization administrators can add and remove members from the organization. They can also promote other members to administrators.
To add a member this way, they must have logged in to CI Sense at least once.
Customize an organization
You can customize visual aspects of each organization to suit your preferences. After you have created your organization, The options below are all available under a specific organization's settings provided you are an organization administrator.
Add a custom logo
You can add a logo for a specific organization. Whenever someone is interacting with this organization, the logo in the top left of the UI is the one you applied. You can set a different logo for light mode and dark mode. The appropriate logo displays based on the mode a user has specified in their user settings.
Create a custom color scheme
You can specify a custom color scheme for the UI. Similarly to logos, you can specify a color scheme for an organization based on which mode a user has specified, either light mode or dark mode. Select colors from a color palette by clicking on one of the colored boxes or specify the appropriate hex code.
When selecting via the color palette, you can click SAVE COLOR in the popup box to preview the color. Colors aren't permanently saved until you select SAVE SETTINGS in the bottom right. You can restore the default color scheme at any time by clicking RESET and then SAVE SETTINGS.
Project roles
Projects have the following roles:
- Observers have read-only access to a project.
- Developers have read-write access to a project.
- Administrators have full access to a project.
Capabilities of each project role:
| Project Action | Observer | Developer | Administrator |
|---|---|---|---|
| View Findings | X | X | X |
| Download Report | X | X | X |
| Start Fuzzing | X | X | |
| Configure Fuzzing | X | X | |
| Configure Project | X | X | |
| Delete Findings | X | ||
| Delete Project | X | ||
| List Members | X | ||
| Add Members | X | ||
| Delete Members | X |
Create a project
There are two ways to add a project:
- Go to the PROJECTS tab for an organization you are a member of and click ADD PROJECT.
- From the left sidebar, under PROJECTS, click the Select Project dropdown menu and select Add Project.
For either method, an Add Project windows pops up where you can specify:
- Project name
- Organization (required)
- Git URL (HTTPS, .git) (required)
- Description